A Clean Workbench, A Rare Sight (lemmy.world)
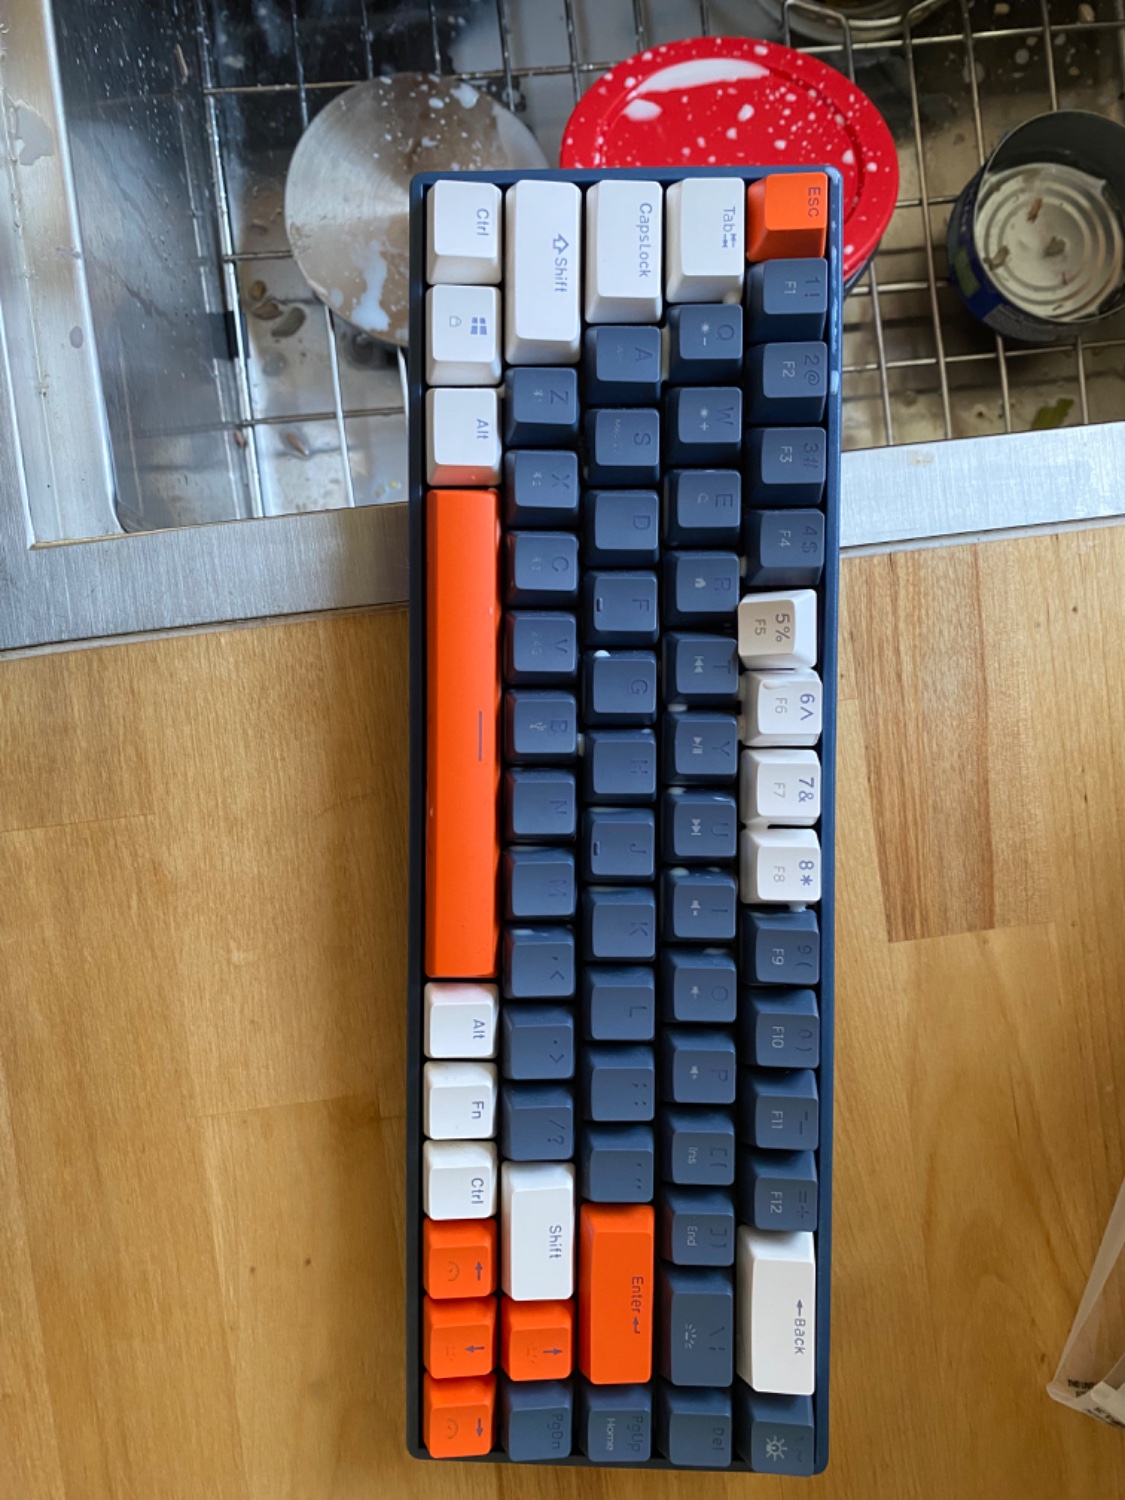
This is where I do all my repairs. Finally got it straightened out, which should last a whole 10 minutes.

This magazine is from a federated server and may be incomplete. Browse more on the original instance.
This is where I do all my repairs. Finally got it straightened out, which should last a whole 10 minutes.
This gameboy was gifted to me from a Family member who found it one day in their Attic. I’ve tried fixing it a year ago, but since some parts never got delivered, it kinda slipped out of my mind until now....

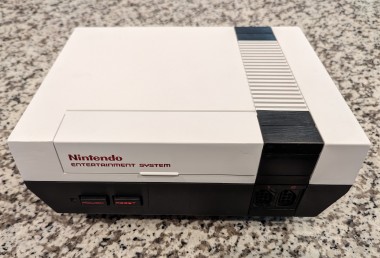
I have an NES front-loader where I fried something in the “silver box” that handles power and A/V (this NES part has no consistent name in the repair/modding community, that I can tell, so I’m calling it the front loader’s “silver box”)....

Still waiting on my test game but the system powers on.
The Open Source Cartridge Reader is a great project for backing up saves (very useful for replacing dying batteries) and dumping roms. It’s also great soldering practice. I chose to go the kit route from here since it was only slightly more expensive with the case than source everything yourself (no case kit: $125, with case:...
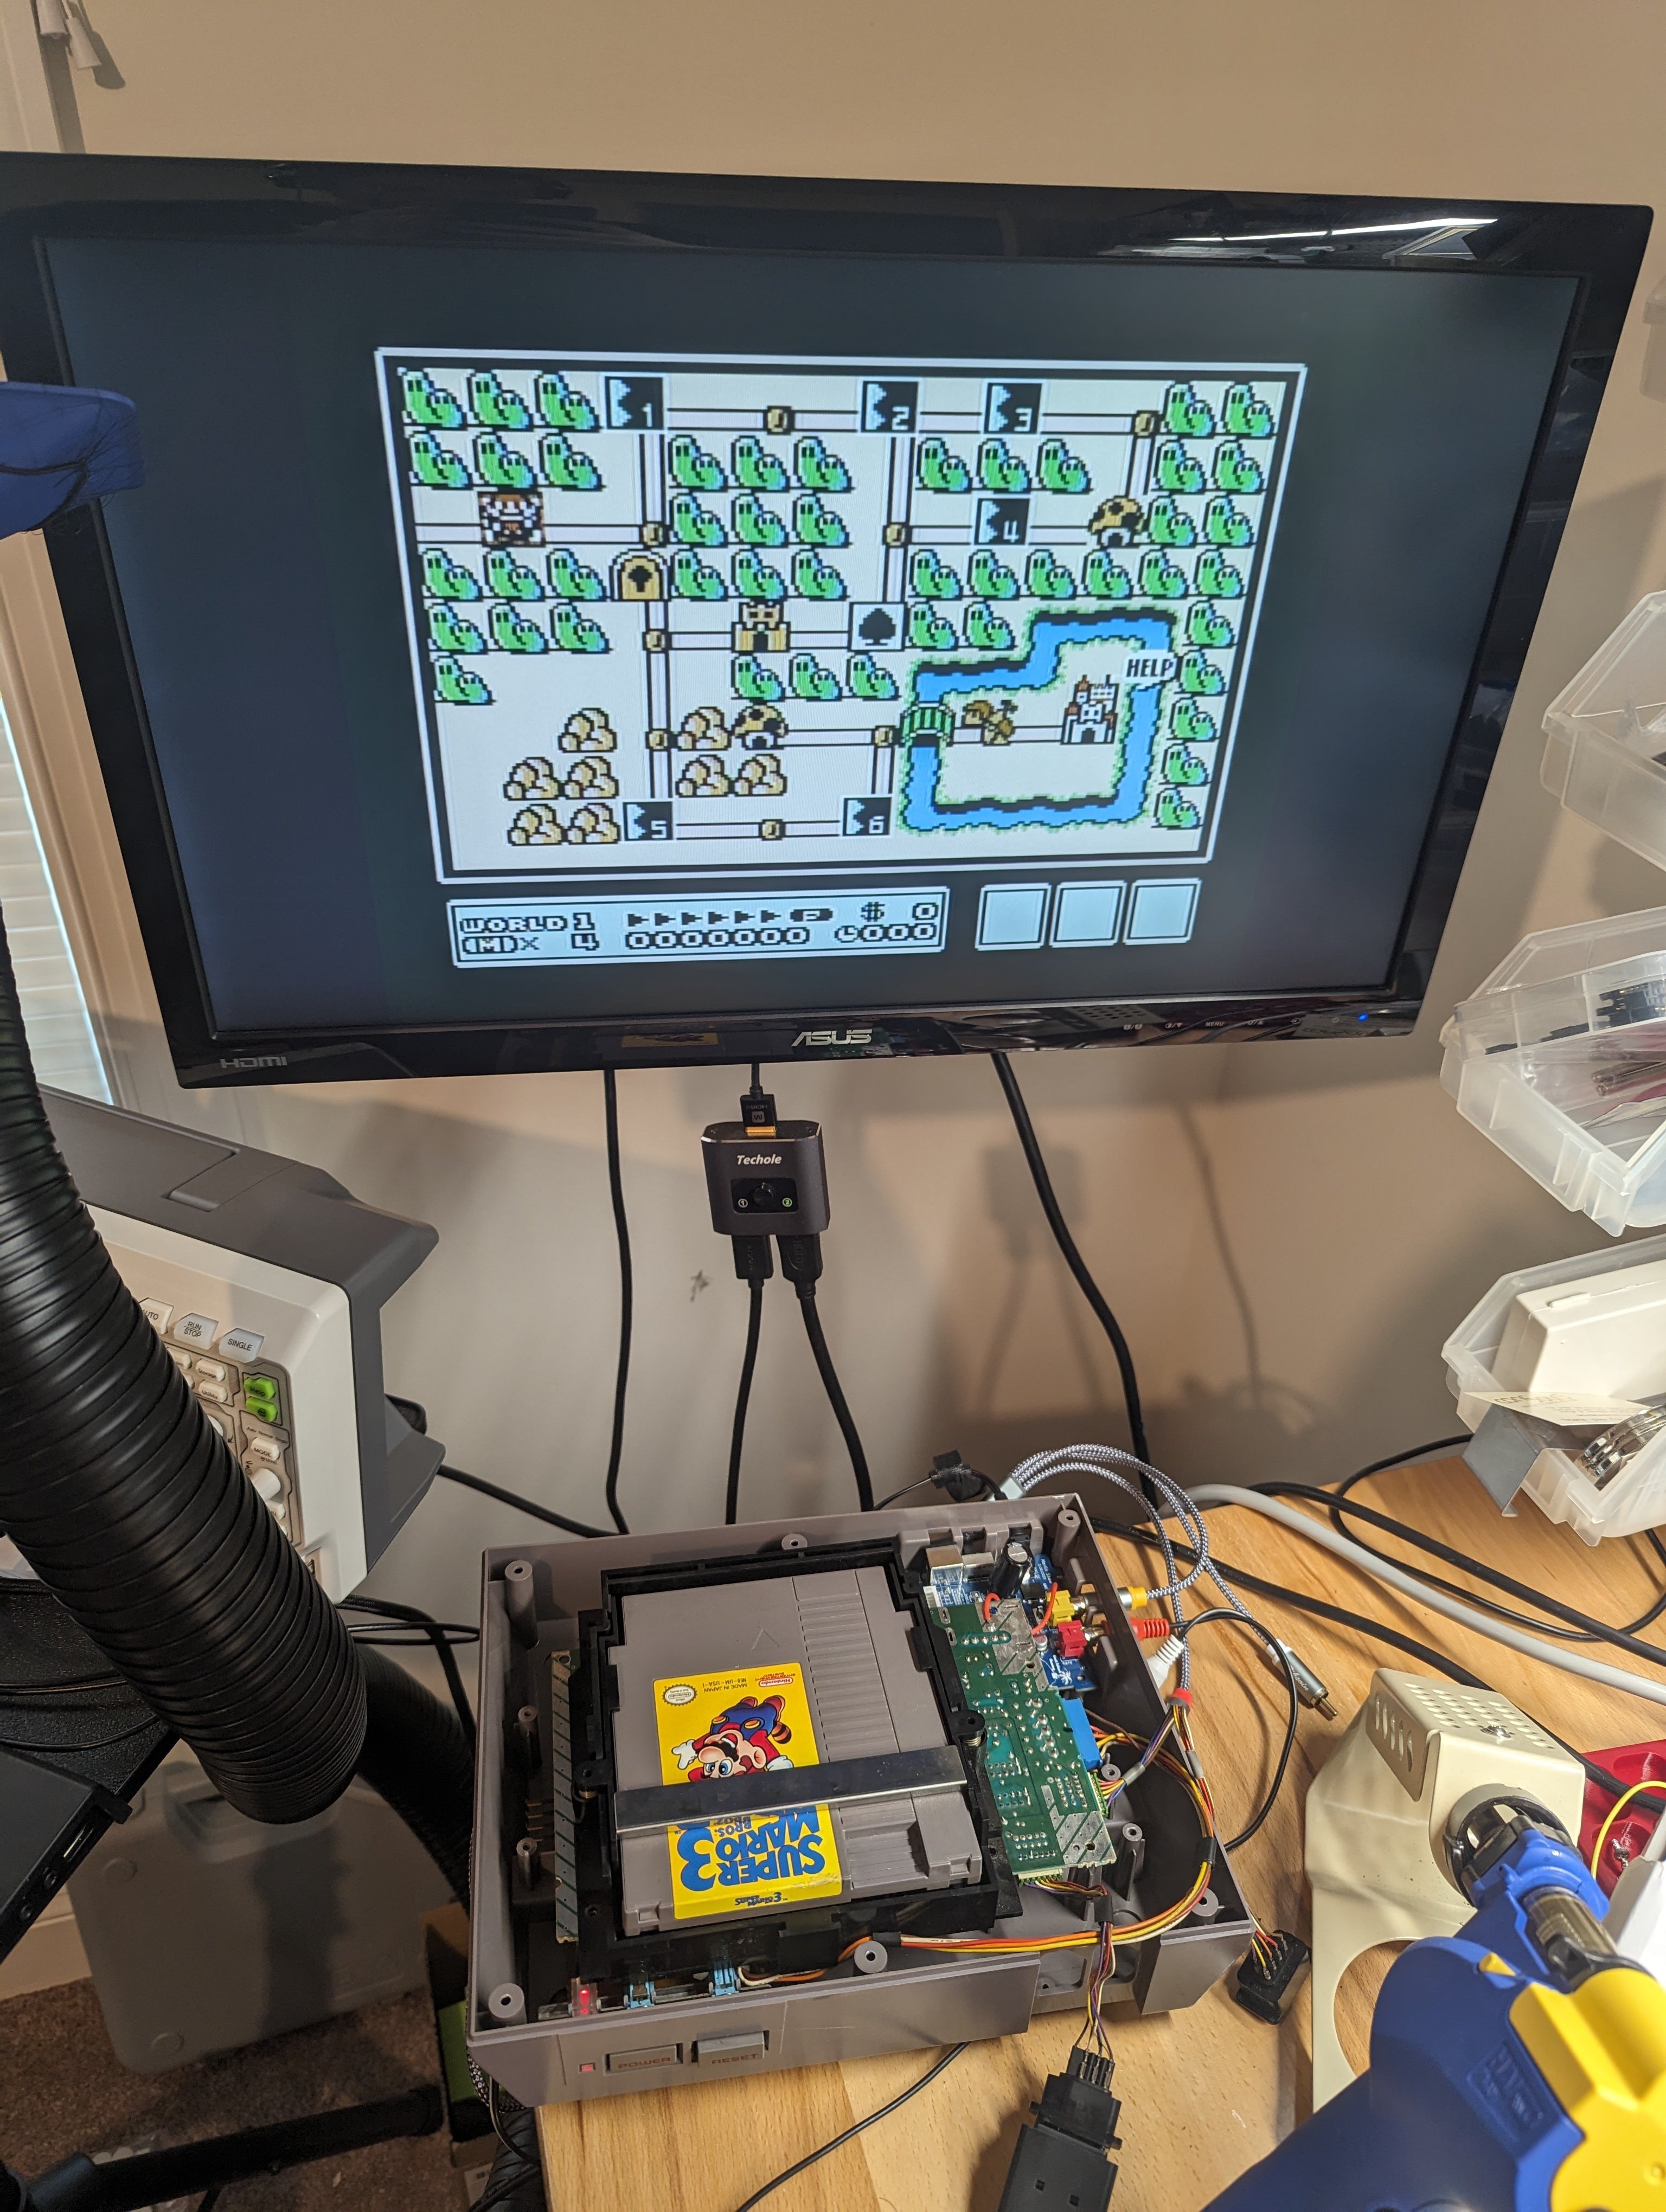
My test game finally came in and I was finally able to test the system. After first it still gave me the blinking light, but a quick easer, ipa, then dexoit treatment to the game fixed it right up....
I have a “Professional control pad PRO-2” (this one segaretro.org/Konix_Power_Pad), but unfortunately it does not work....
Do you wonder “what is the appropriate goop to use in this repair?” Let’s talk about it. First things first:...
I recently picked up a syringe of Chipquik SMD291 tack flux to play around with, I’m just getting into doing smd stuff… and I find myself using it for just about everything because it’s so easy to use, works a treat, and is fairly easy to clean up. What flux do you like to use? Do you have different ones for different...
I can’t press any of the buttons and get a response from it
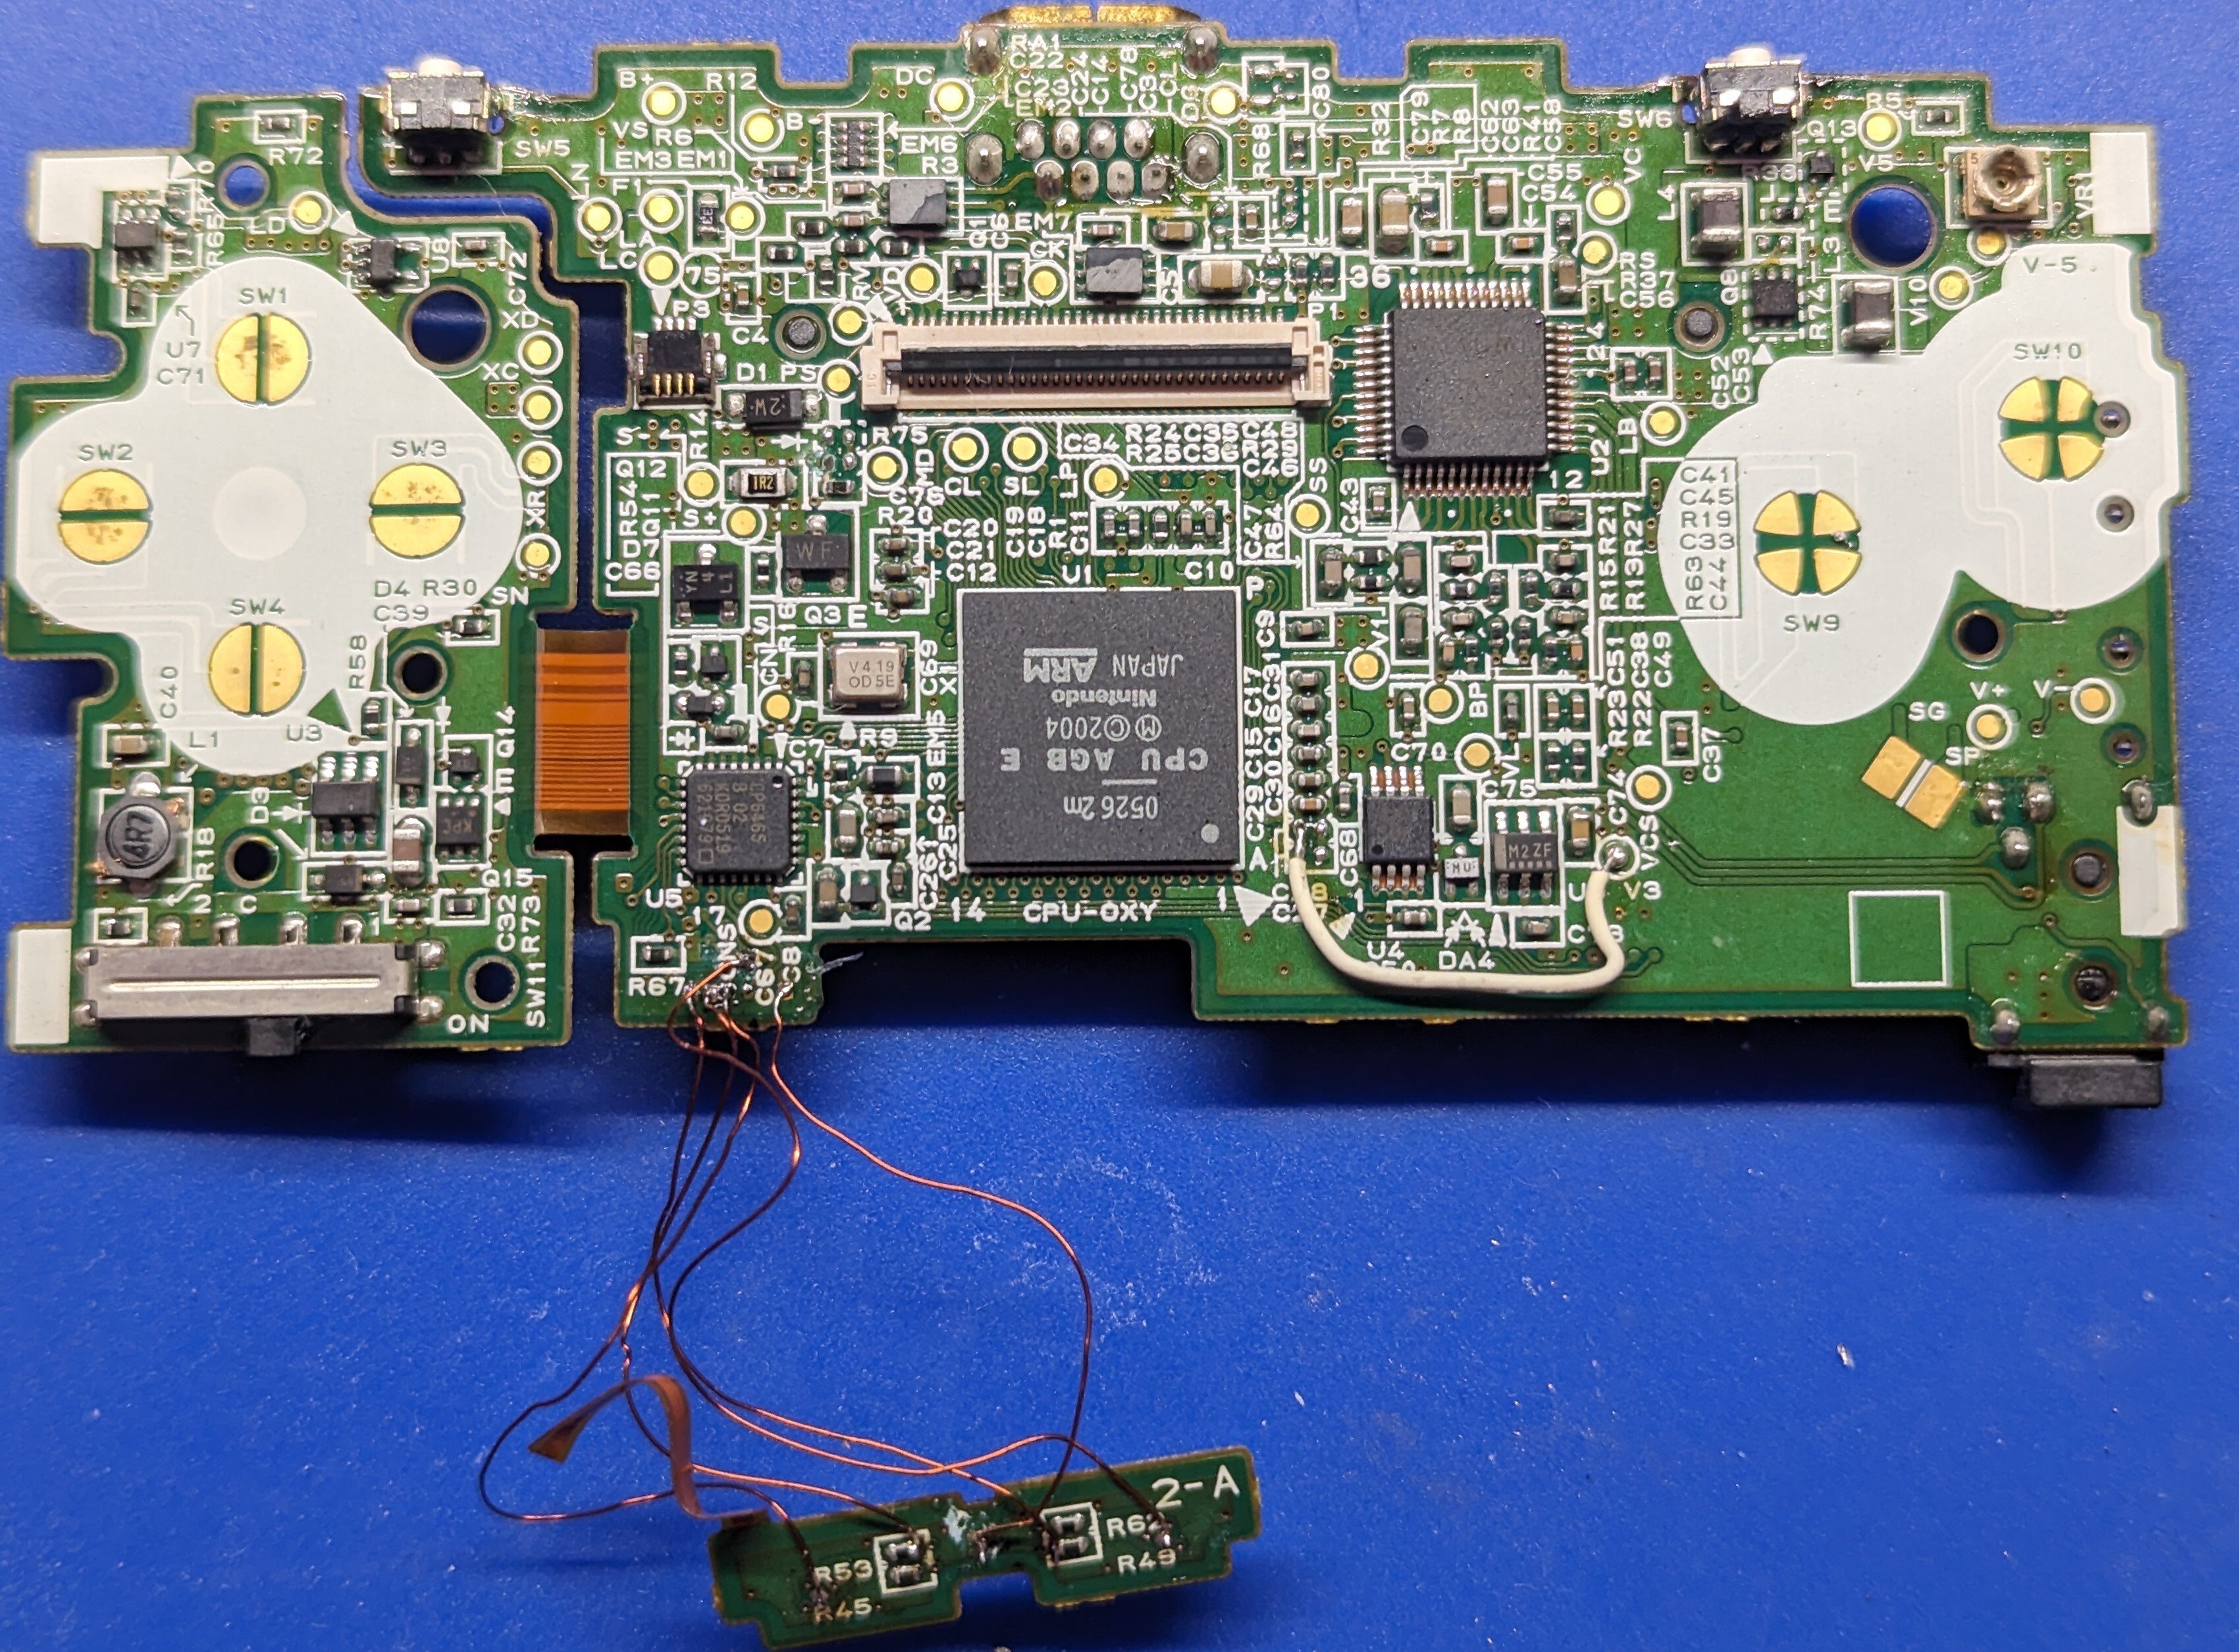
My hand slipped while disassembling the system (original goal was to replace shoulder buttons and plastic housing). I had to scrape away points on the board and use some 32 awg enameled wire to recreate the connections. Good news is every fits and is back in working order.
Just wanted to say I feel very much accomplished and like a techie now.
I love how Adrian Black shows what the scope should look like for the C64 on power on, etc. but I have never seen anyone do the same for an NES. It would be a fascinating video. Anyone seen anything like this?
This Nintendo Switch Was in a House Fire! Let's Fix It! I paid $100 on eBay for a Nintendo Switch that was damaged in a house fire. The outside is gross and I'm guessing the inside is worse so, of course, we'll be opening it up to assess the damage and do the needed repairs and hopefully get everything working again. Bonus Fix:...

I’m glad to see this community starting to grow. As a mod, I haven’t had a single report or anything to do since I started this community. But I’d like to have another mod, since I don’t want this community to die if I fall off the face of the planet. Plus I’m not doing anything to “help” it grow lately. Anyone...
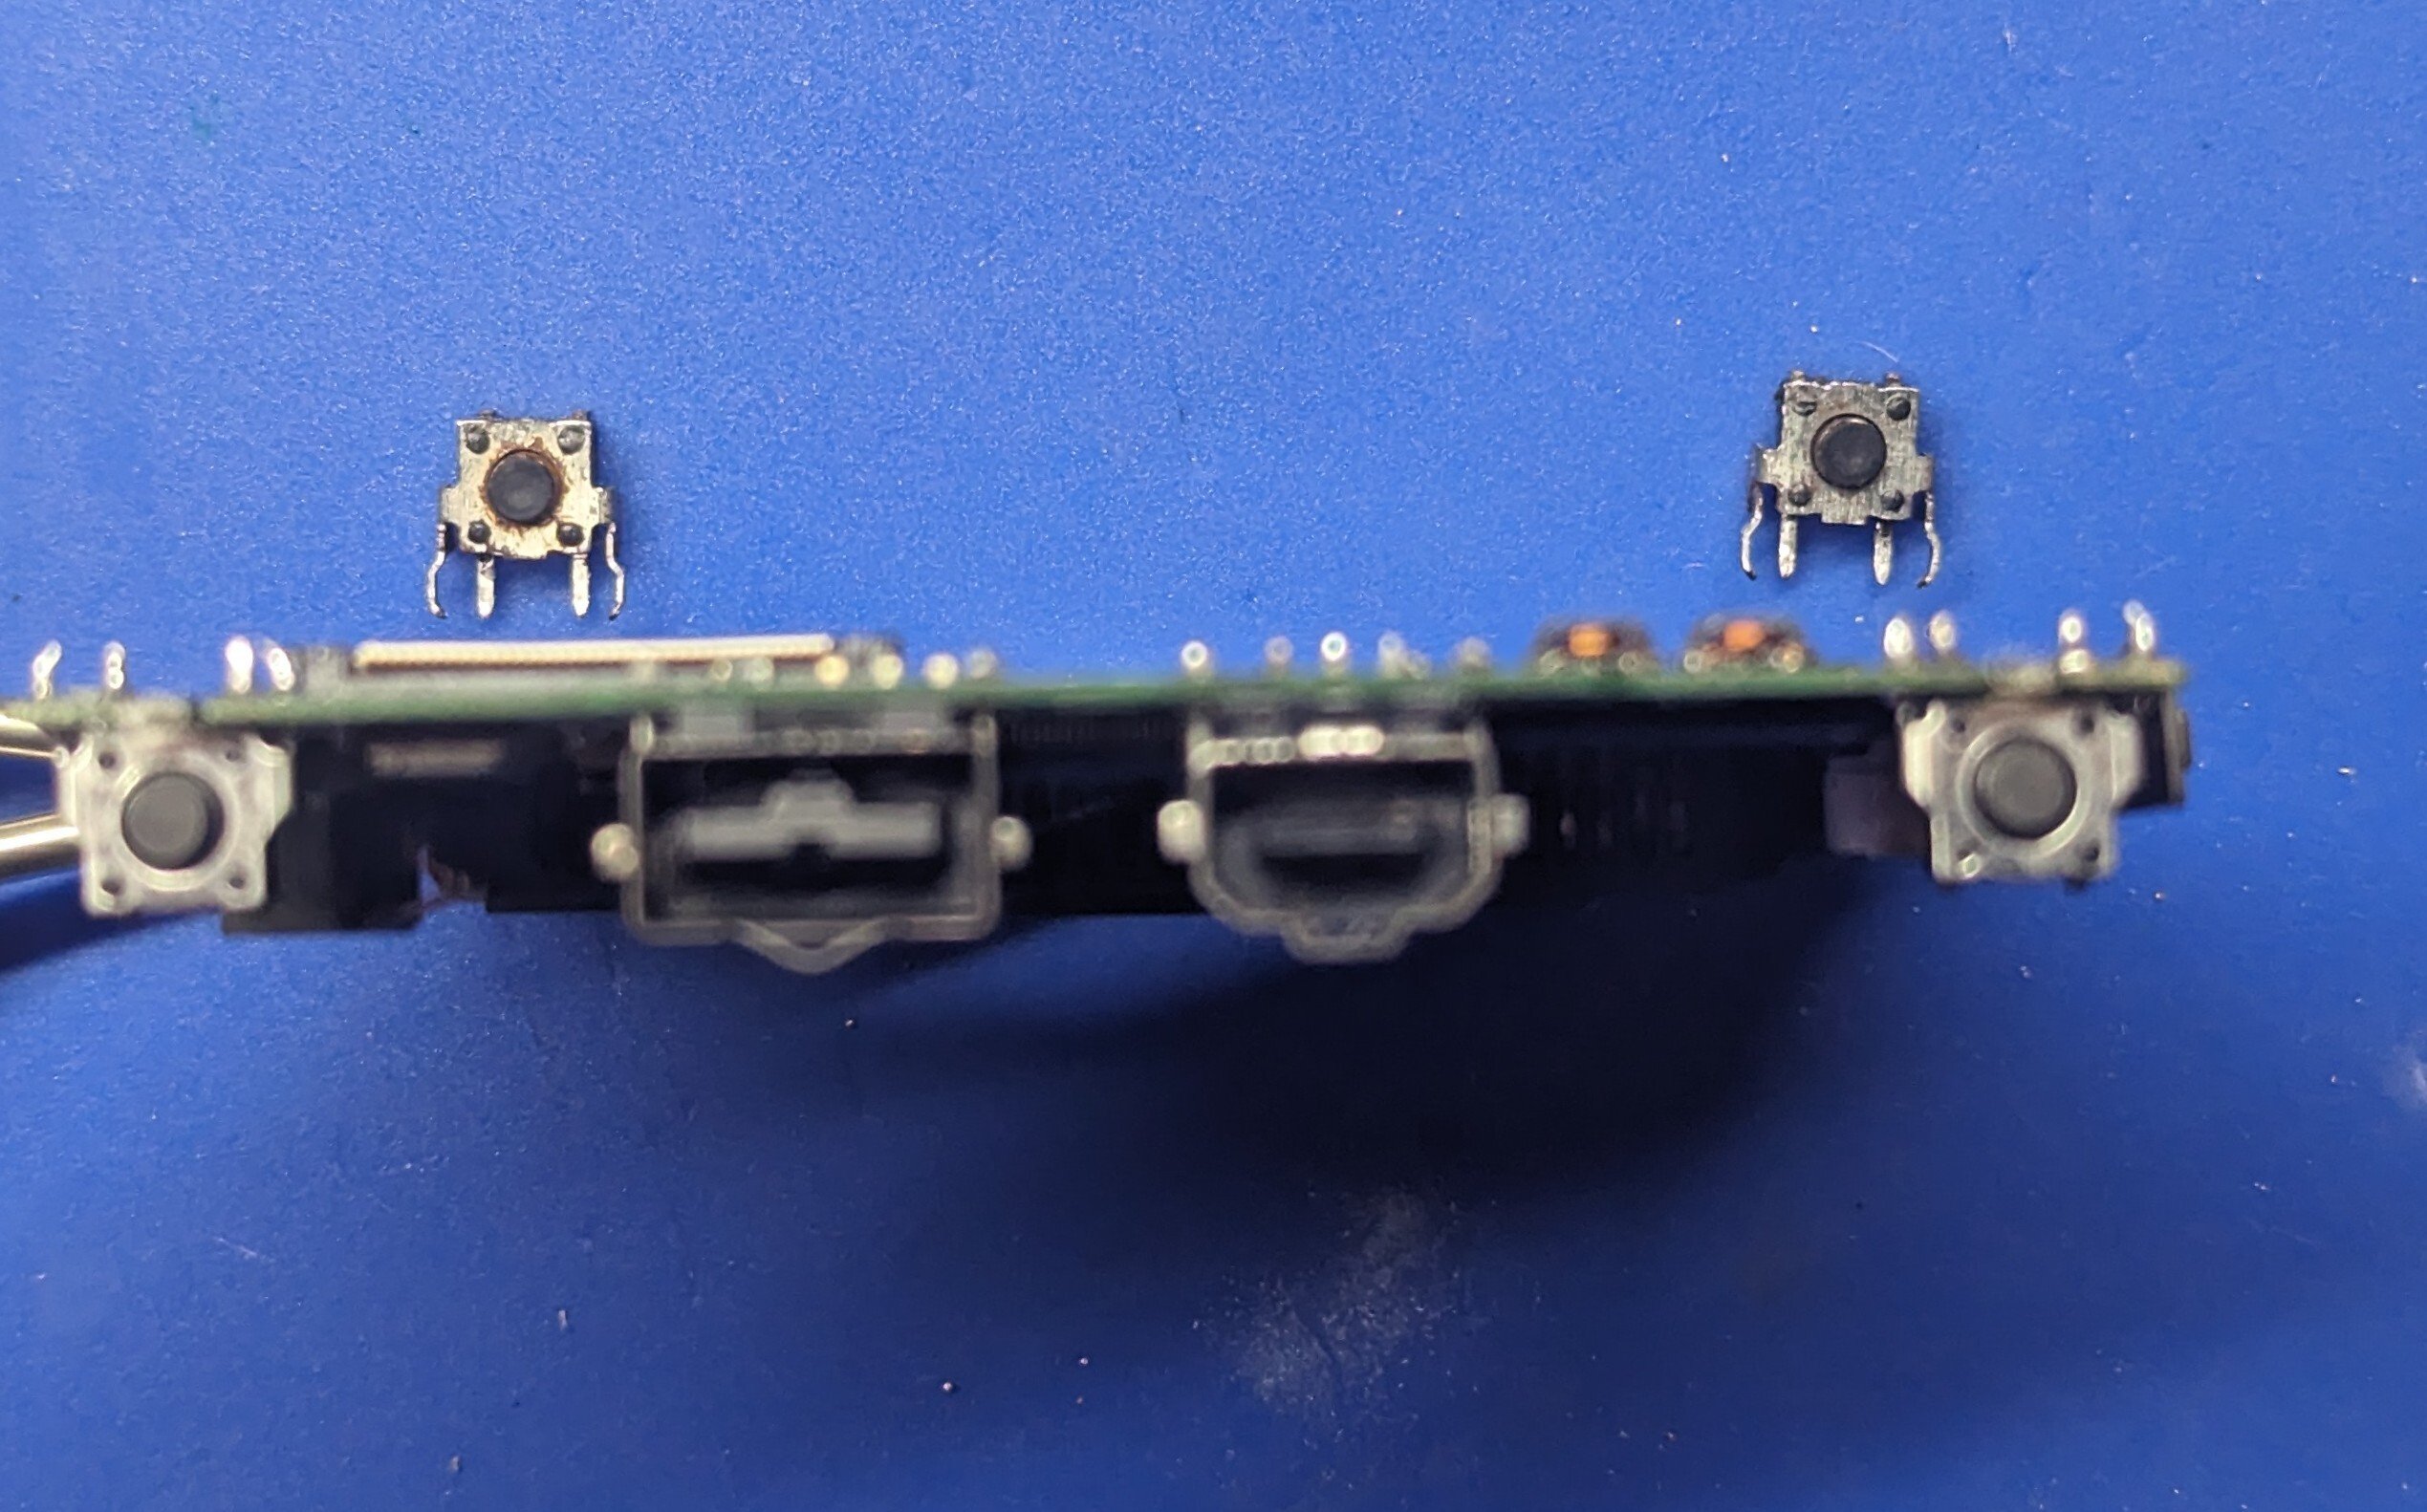
Still not the best at desoldering but these definitely needed to be replaced.
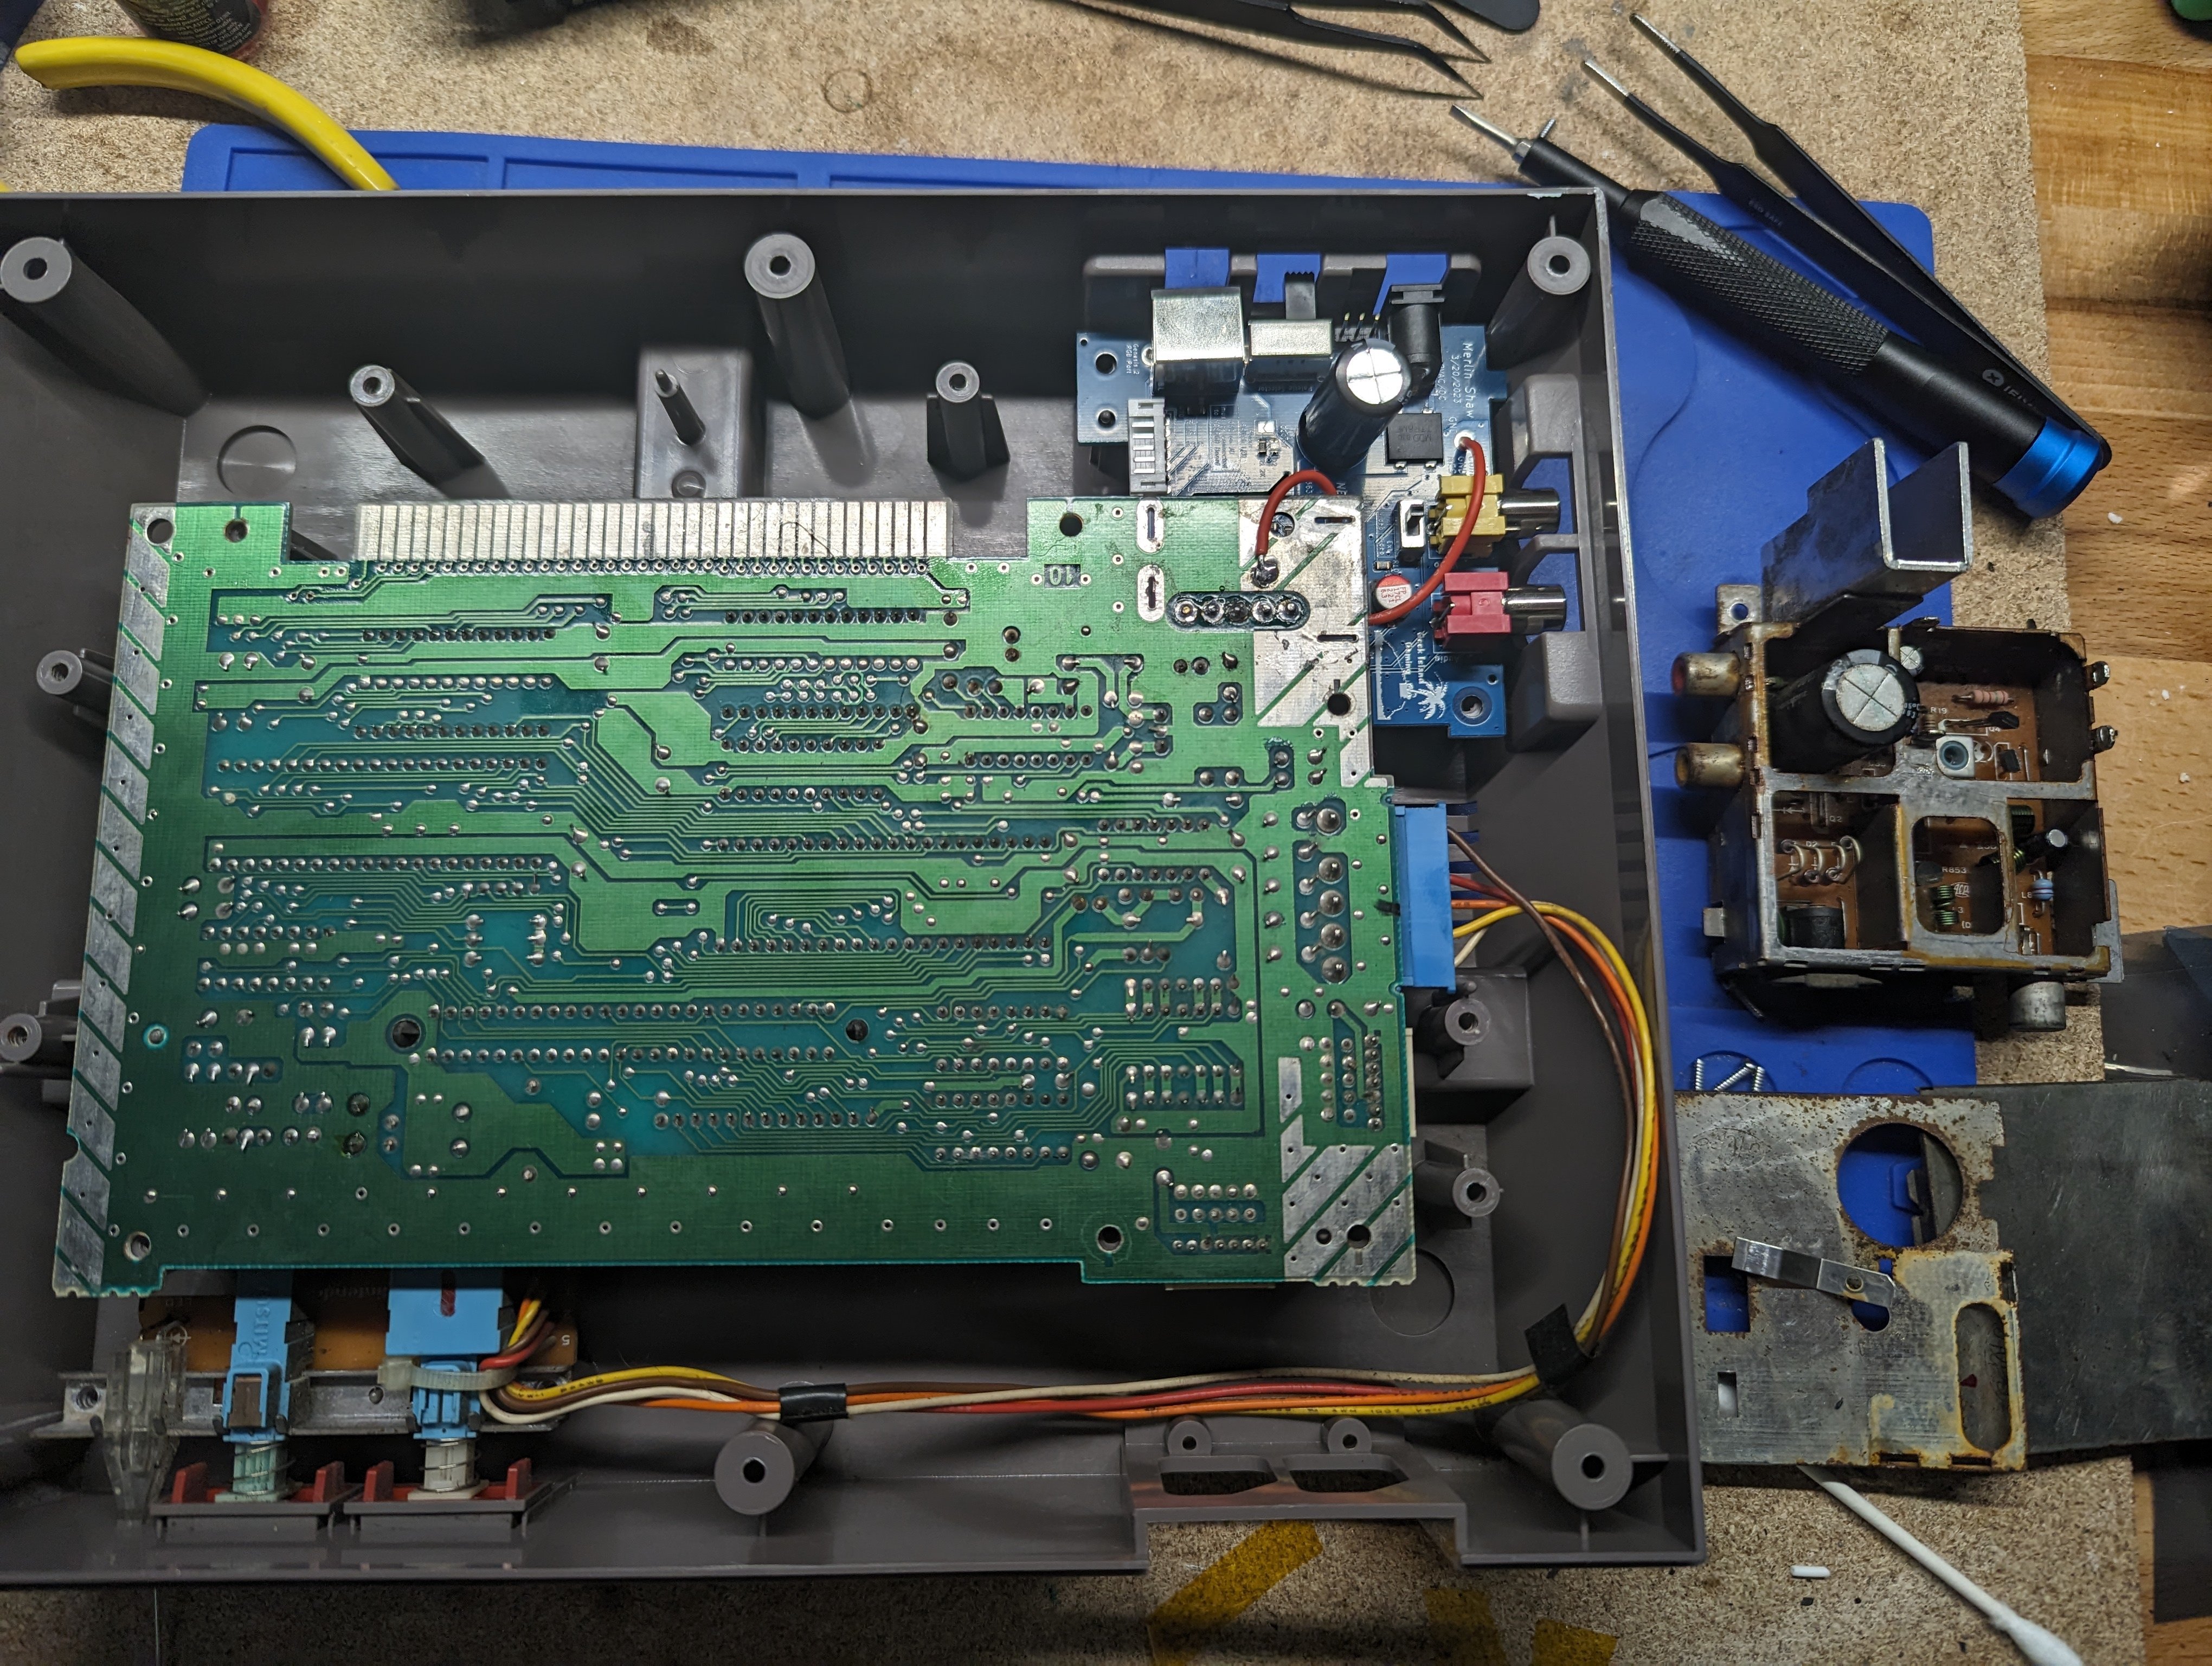
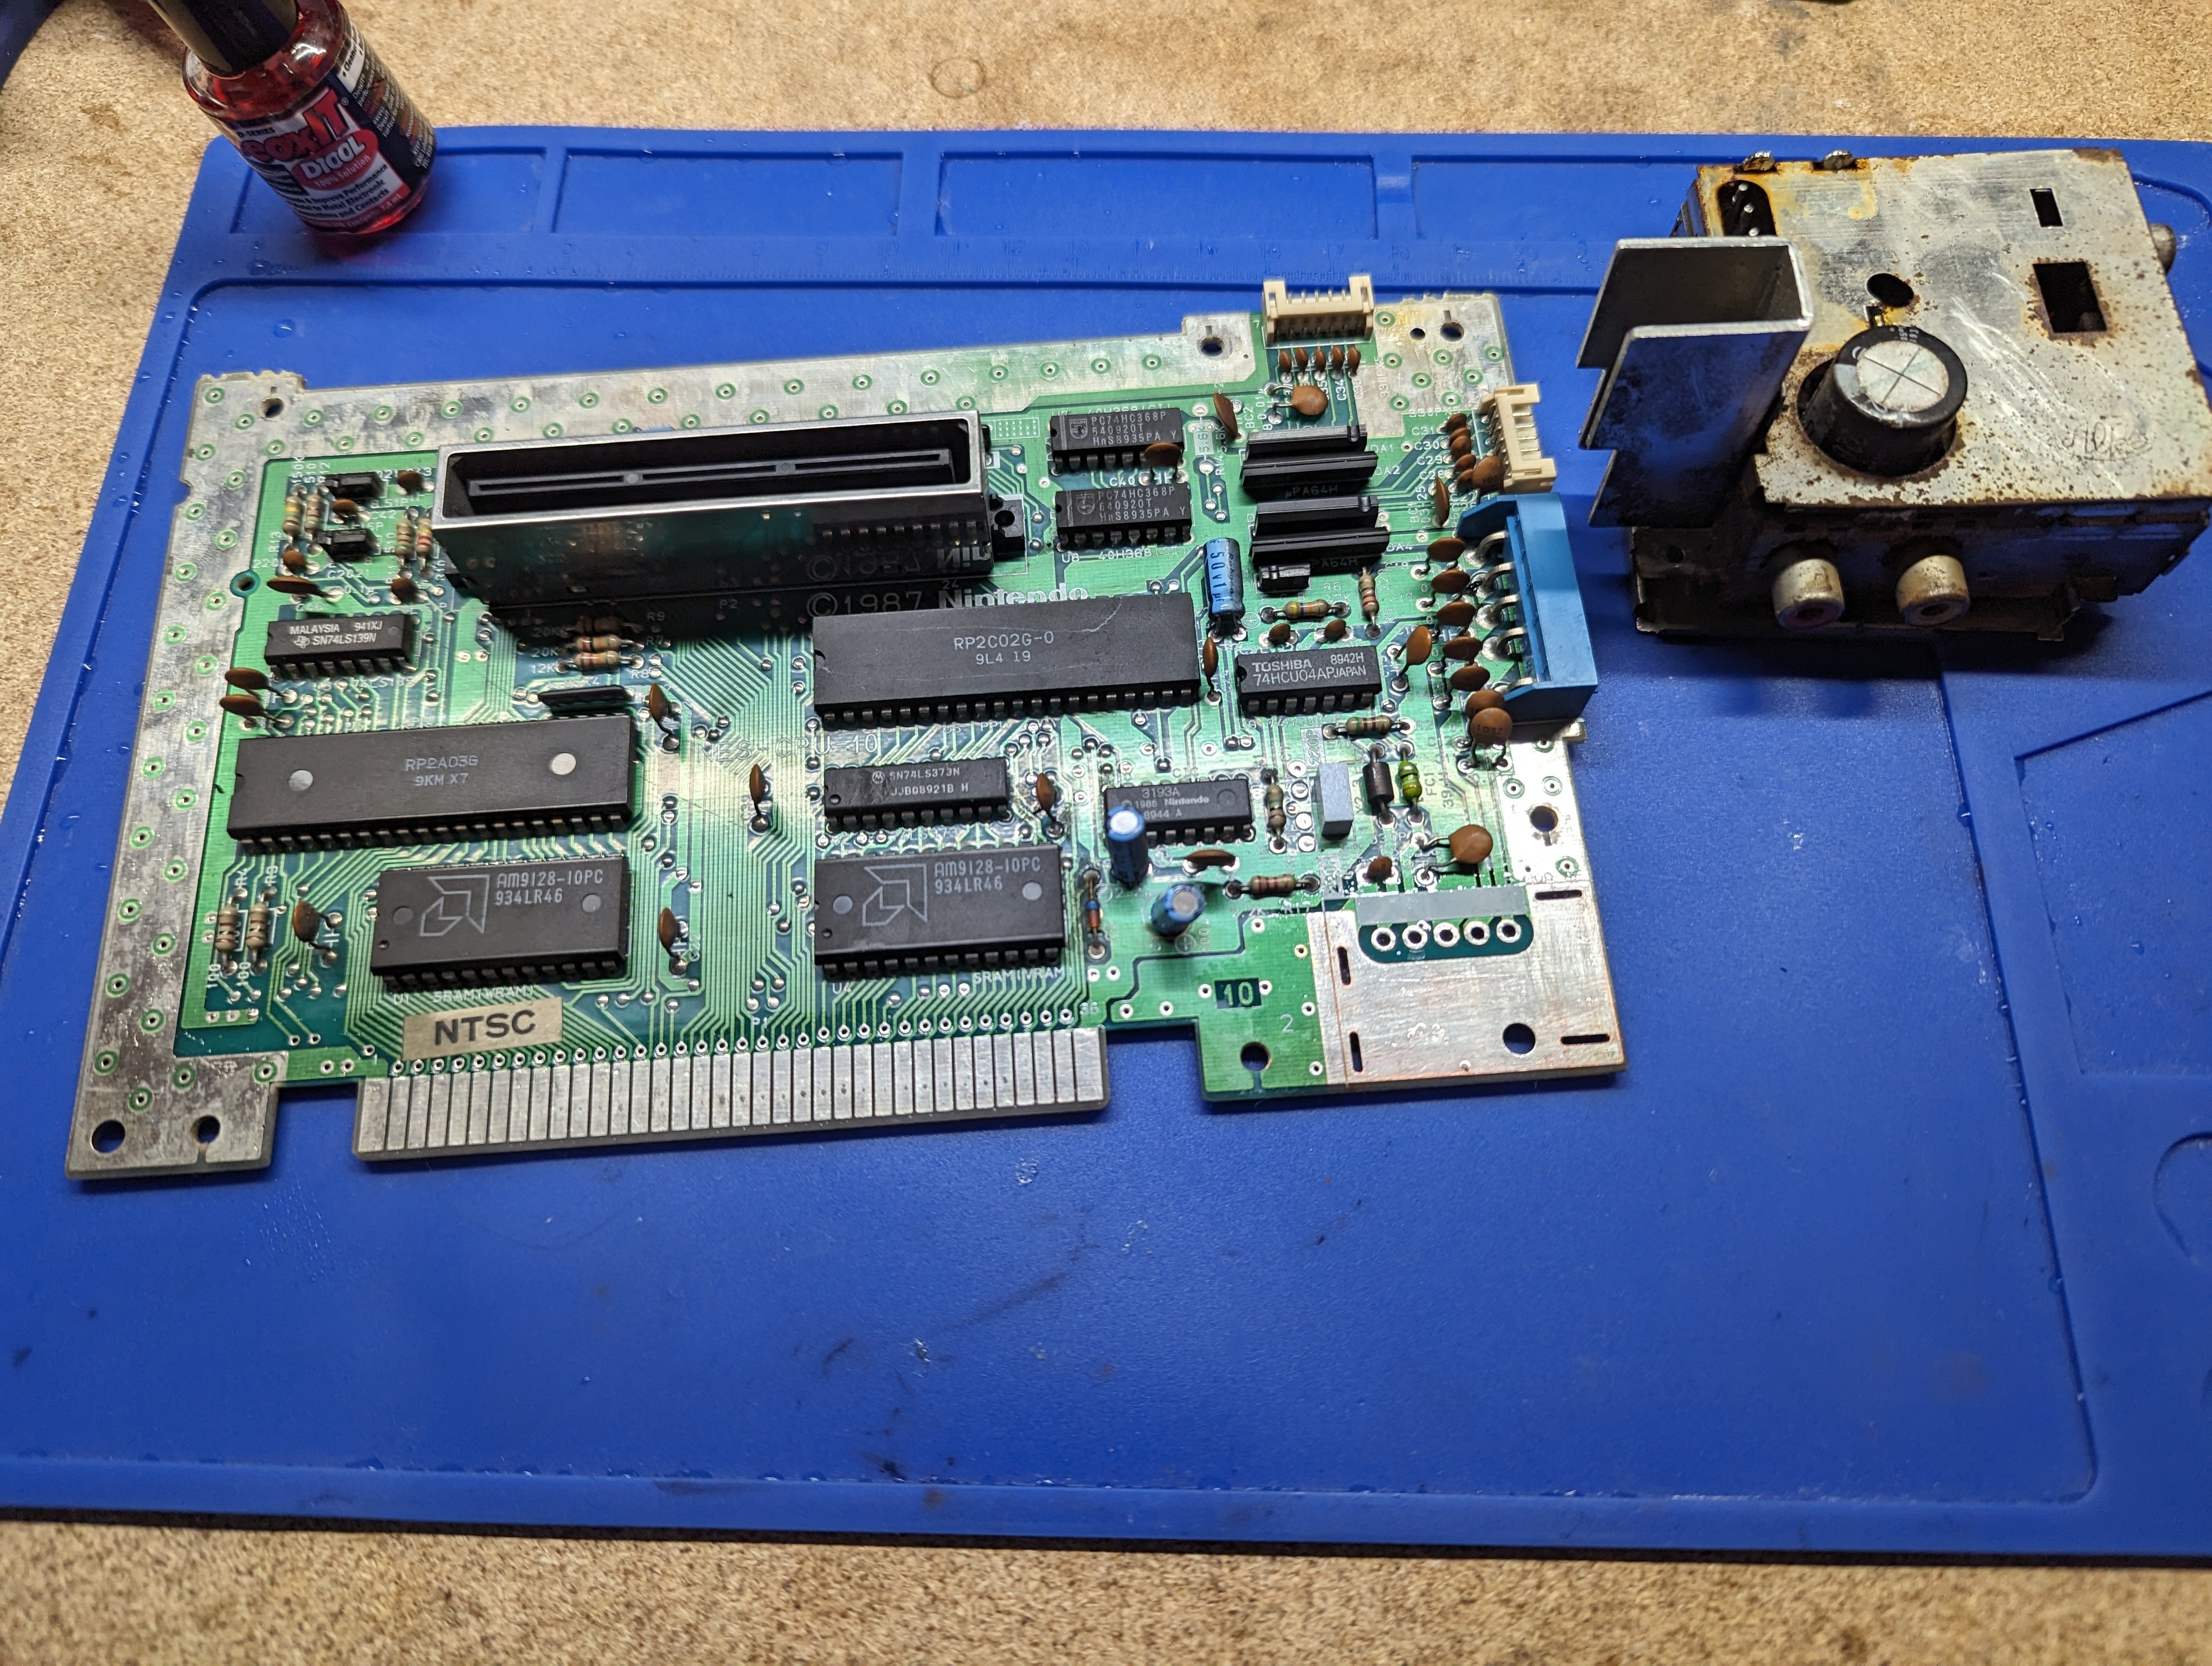
The system would not boot, it only falshed an orange light (aka Frag). The main issue was a broken trace that ran under a surface mount cap, followed by damaged pads on two capacitors (not sure if they where connected before or came off with heat). After fixing those the system worked fine. I removed the clock cap, did a full...
My old NES started having a graphical issue, it seemed like it was drawing sprites but no backgrounds (solid green in SMB as seen in the pic, but different colors with other games)....
Used a combination of jb plastic weld and wood filler to fix the cracks and gashes in the shell. Gave the two halves a new coat of paint and ordered metallic stickers off Etsy.
Was able to pickup this fairly cheap (blinking light). While I’m waiting for the test game to come in, figured I’d get started cleaning up the board

Absolute nightmare. Not just leaking batteries but several components had to be replaced on the front. Ridiculous amounts of contact cleaner in the card slot. Copper plate ground so corroded I could peel it off like wet toilet paper. Removed it and soldered all the contacts together. Bought for 5 bucks, only took about an hour...
Sorry about the stock photo. Anyone ever have luck rehabbing one of these boards? Recently got my hands on a DSi XL missing the battery and battery cover. Yellow flashing light of death even with replacement battery. On disassembly, there was battery corrosion. The fuse on the battery board was not only blown, it was totally...

The original issue turned out to be a faulty power supply. While I wait for those fuses to come in figured I would replace the board caps and add the GEM.
. I’ve been looking for a couple house and just can’t find them all. Do any of you have some decent resources for this?